
 Sustainability
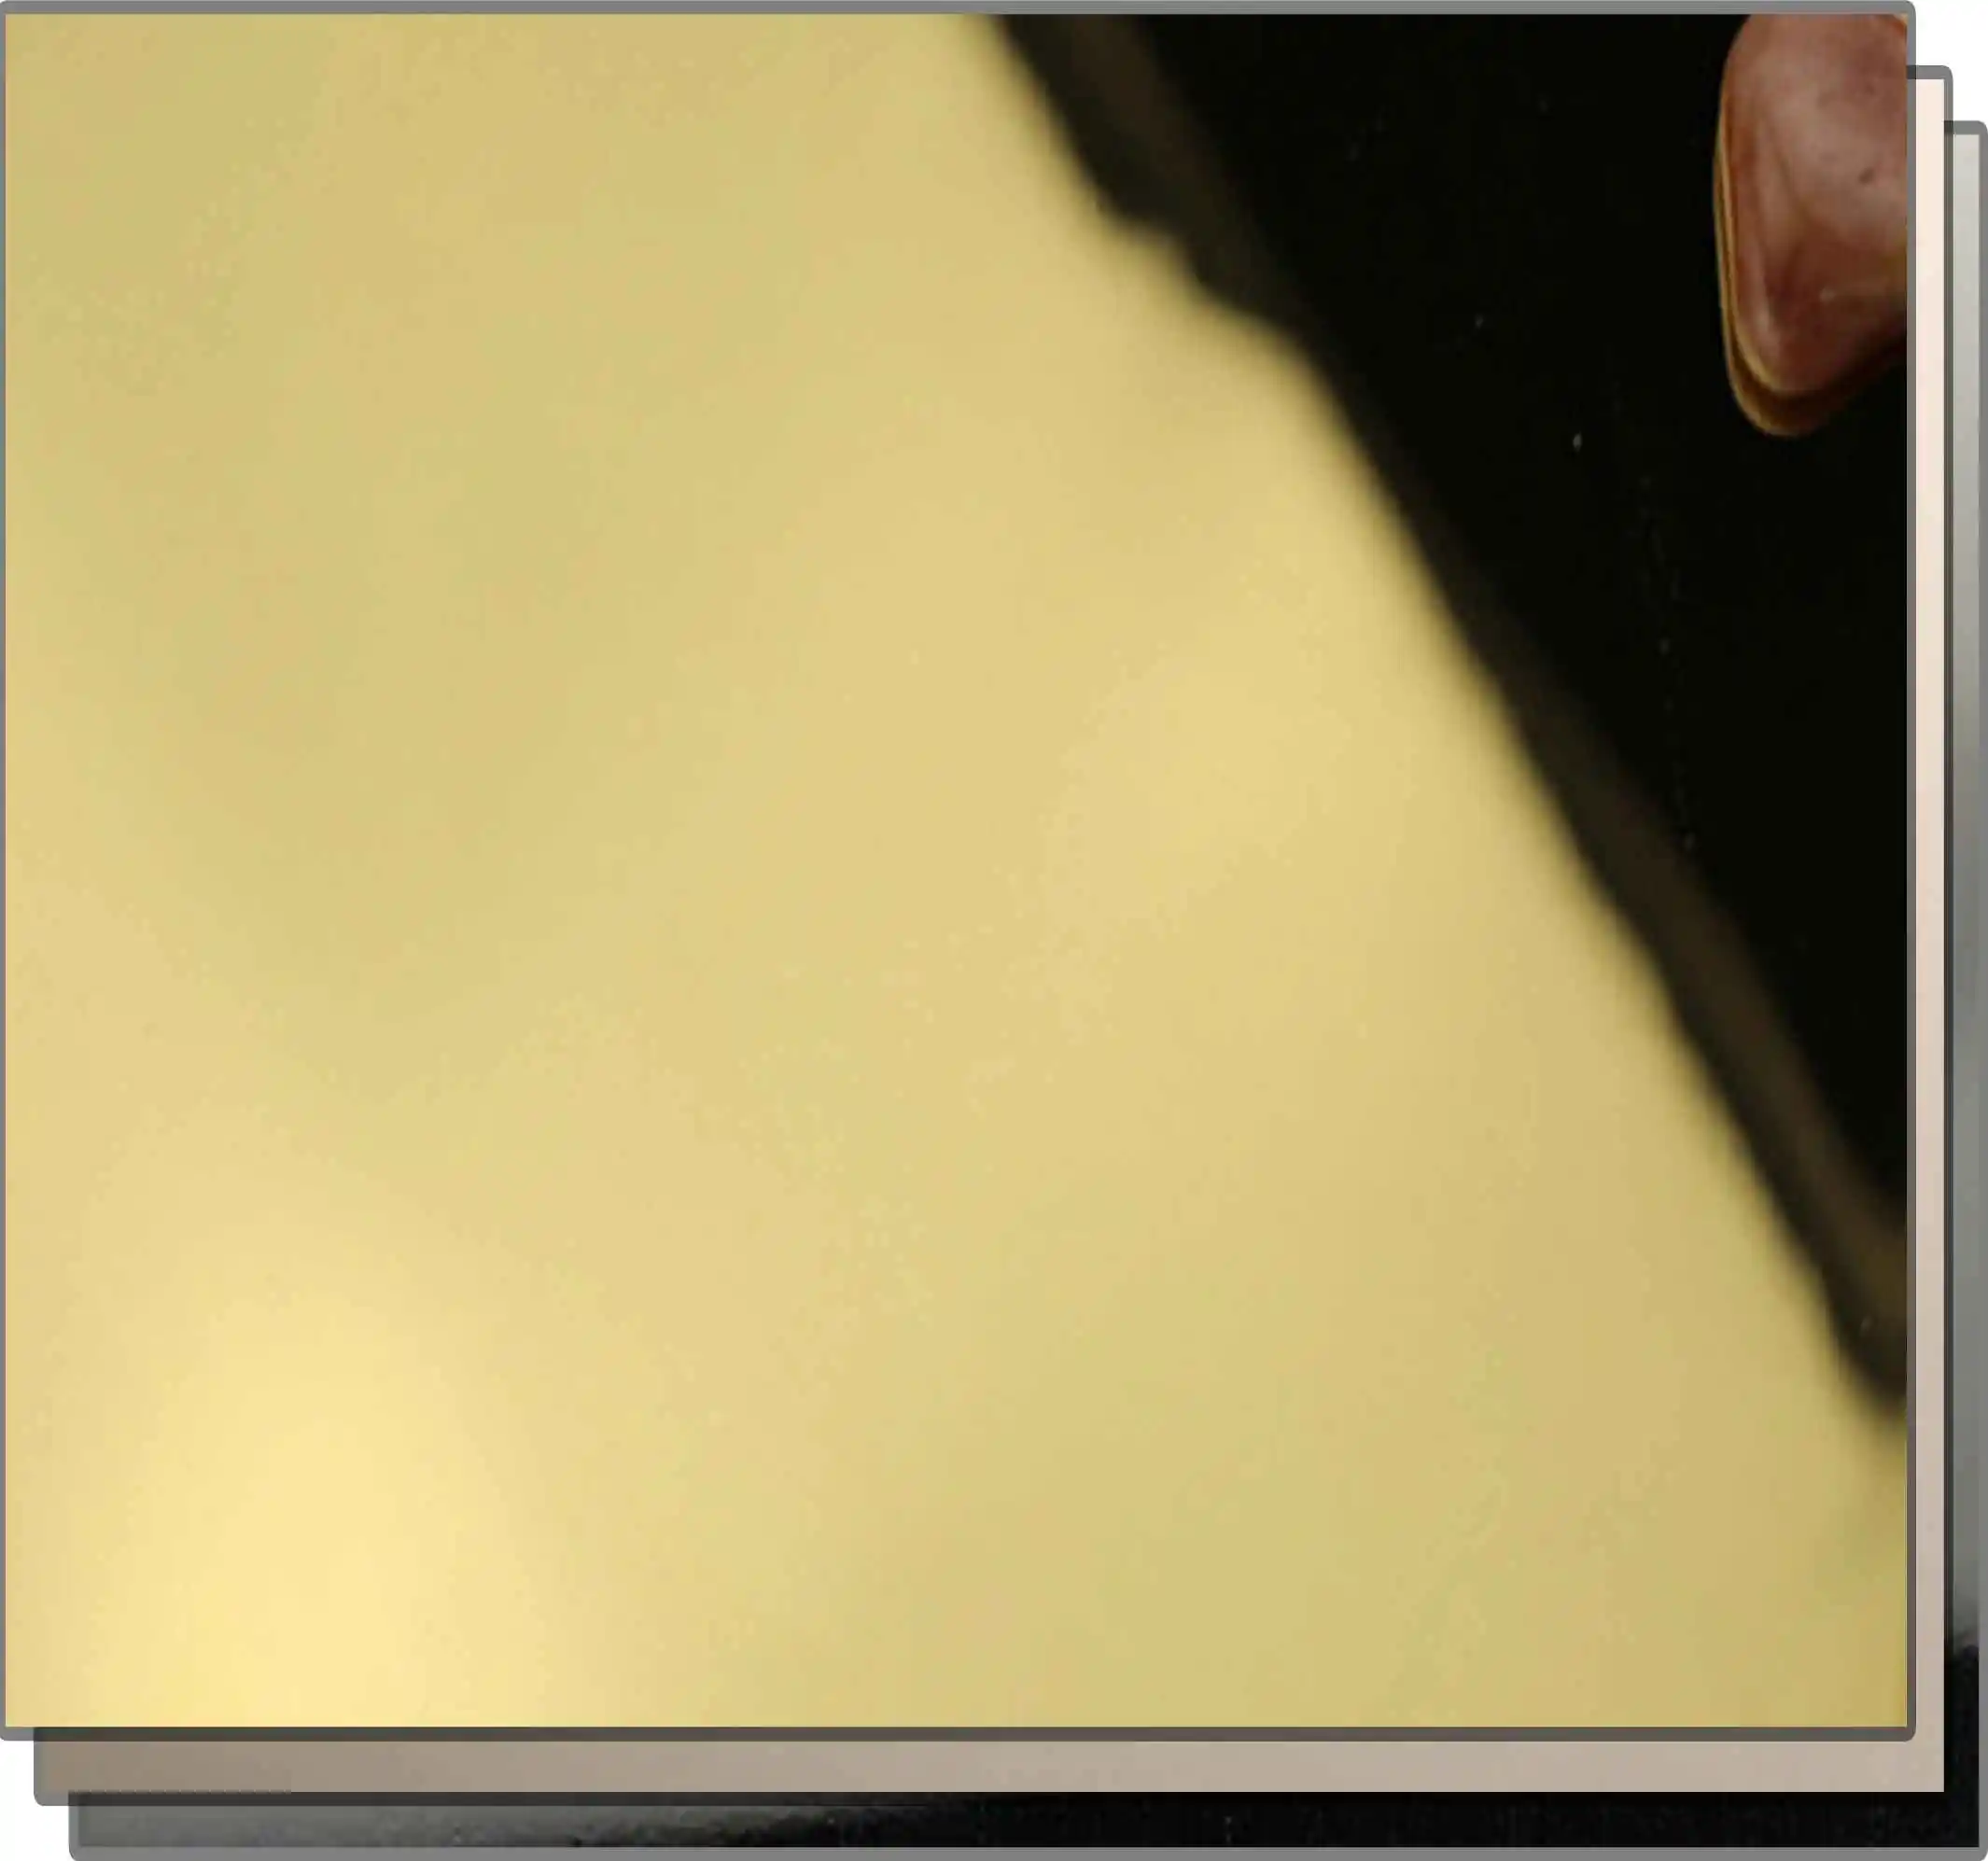
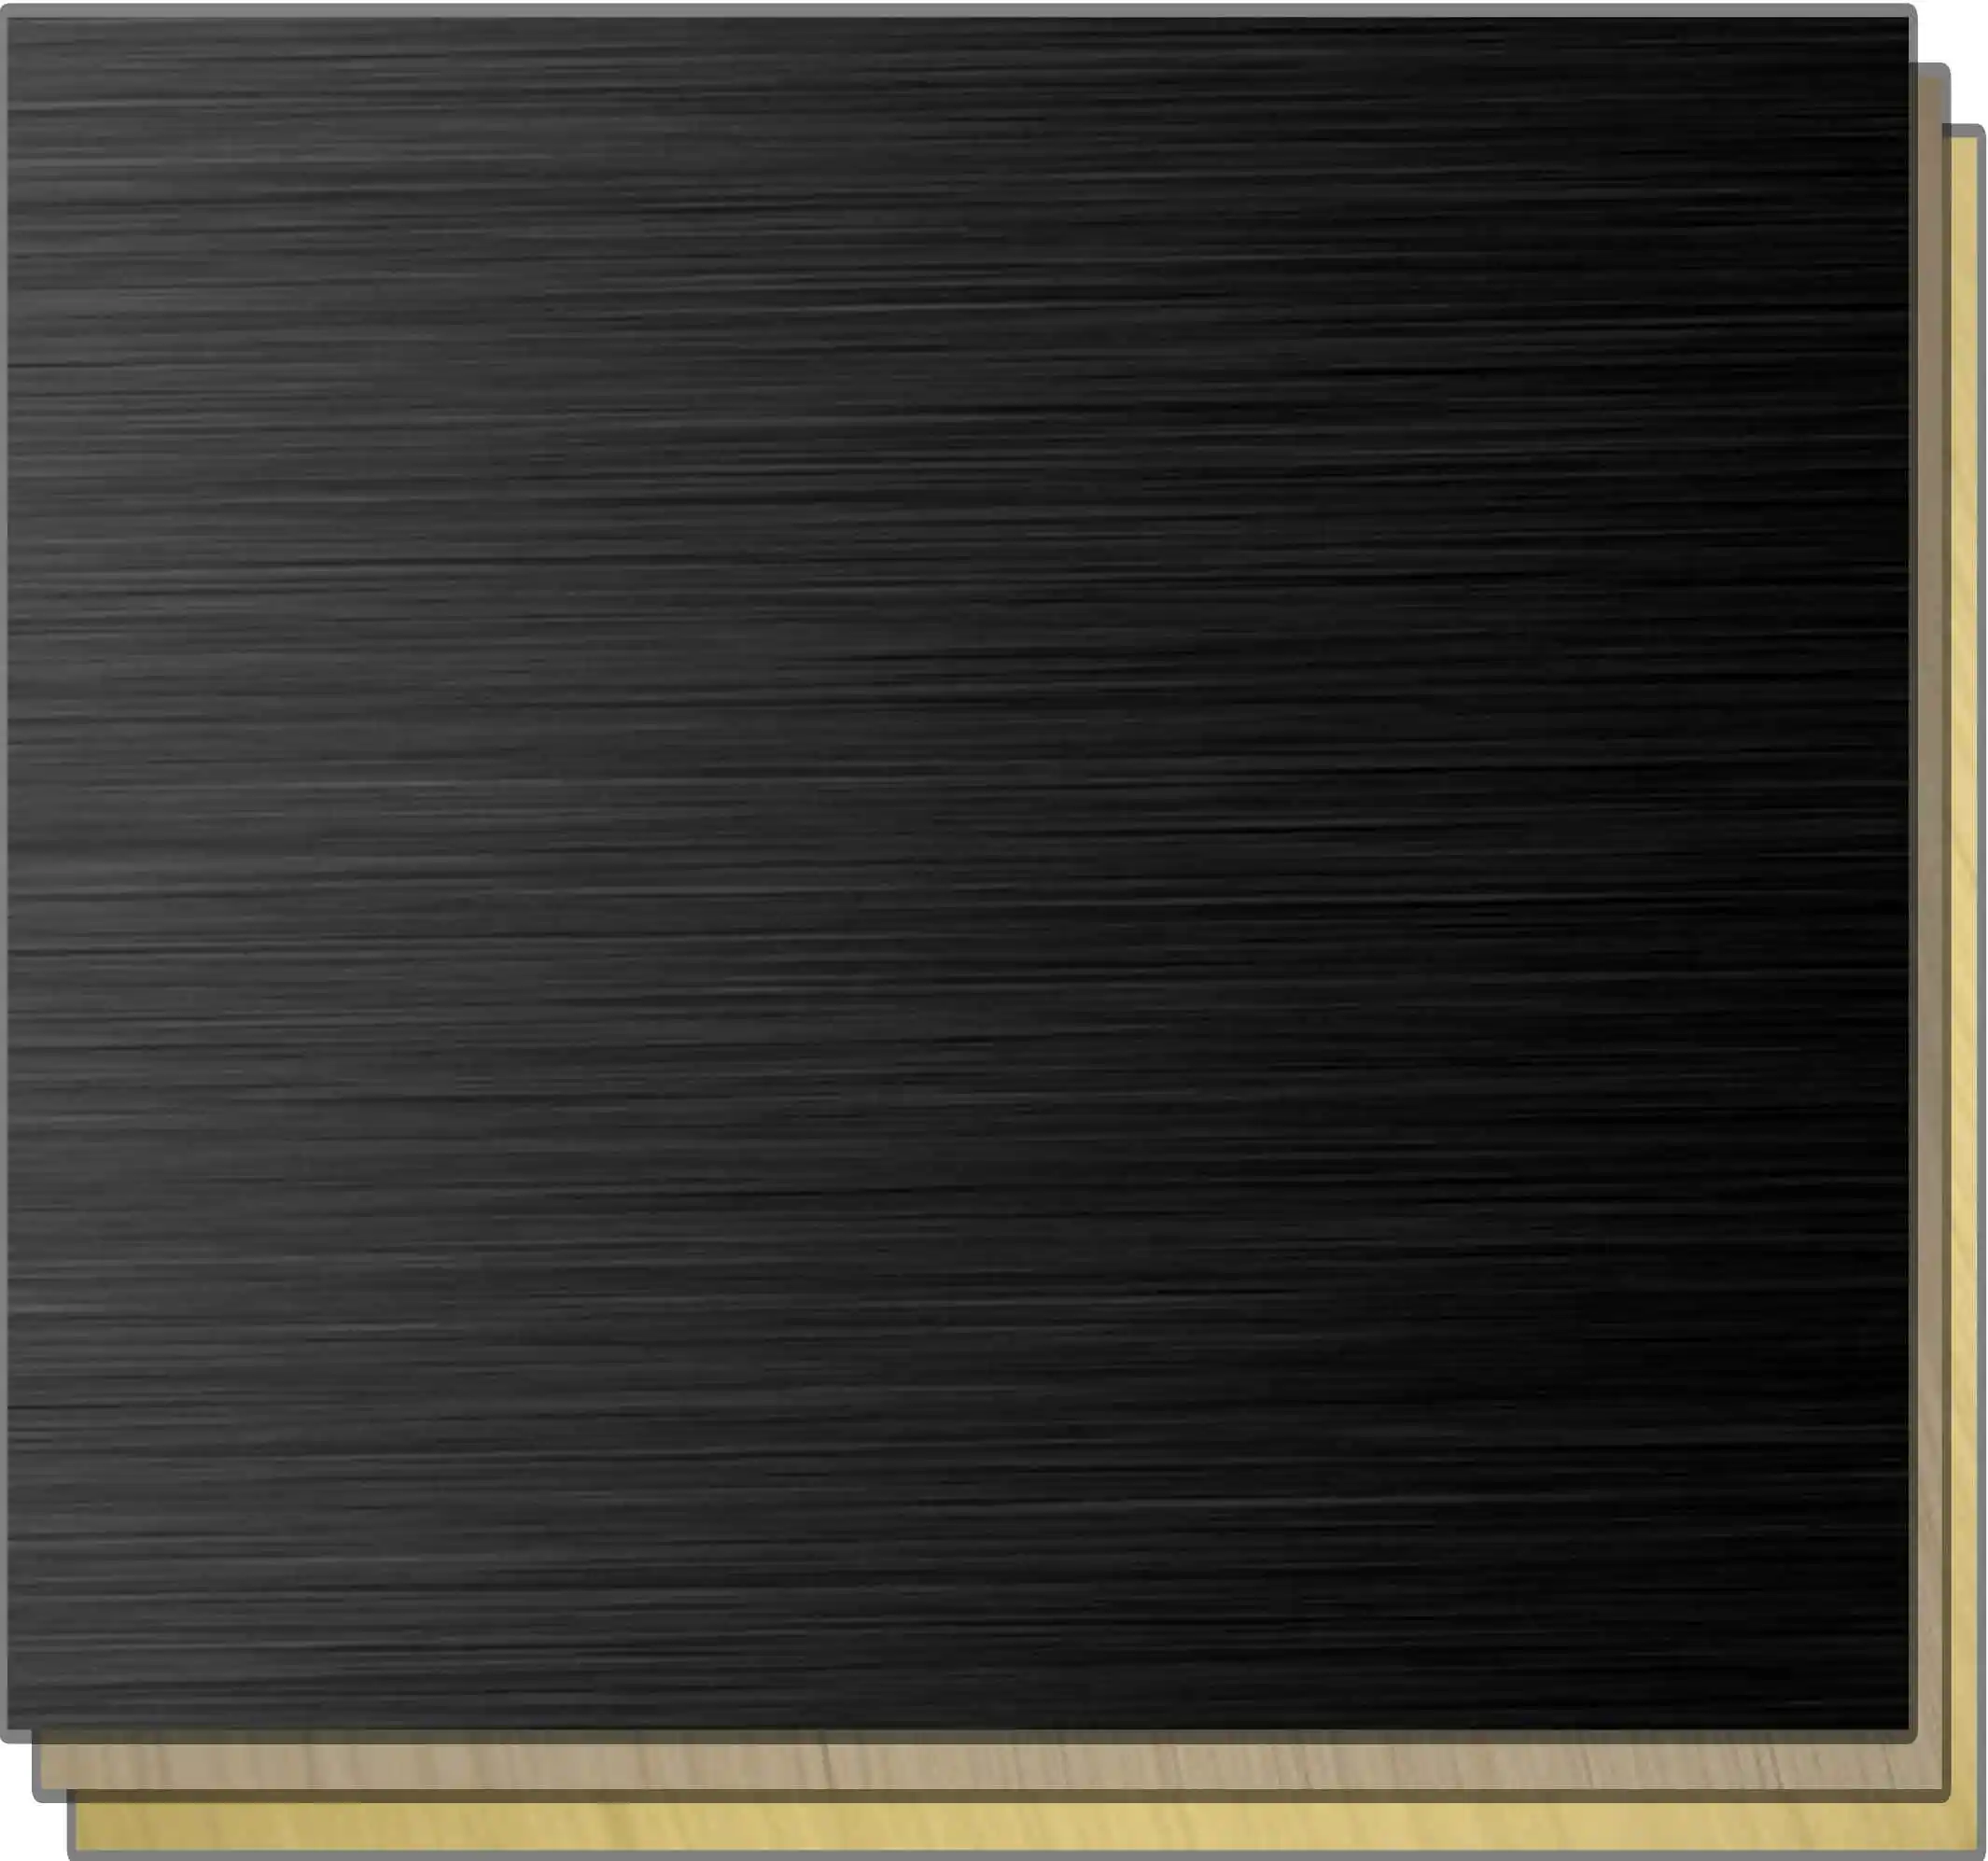
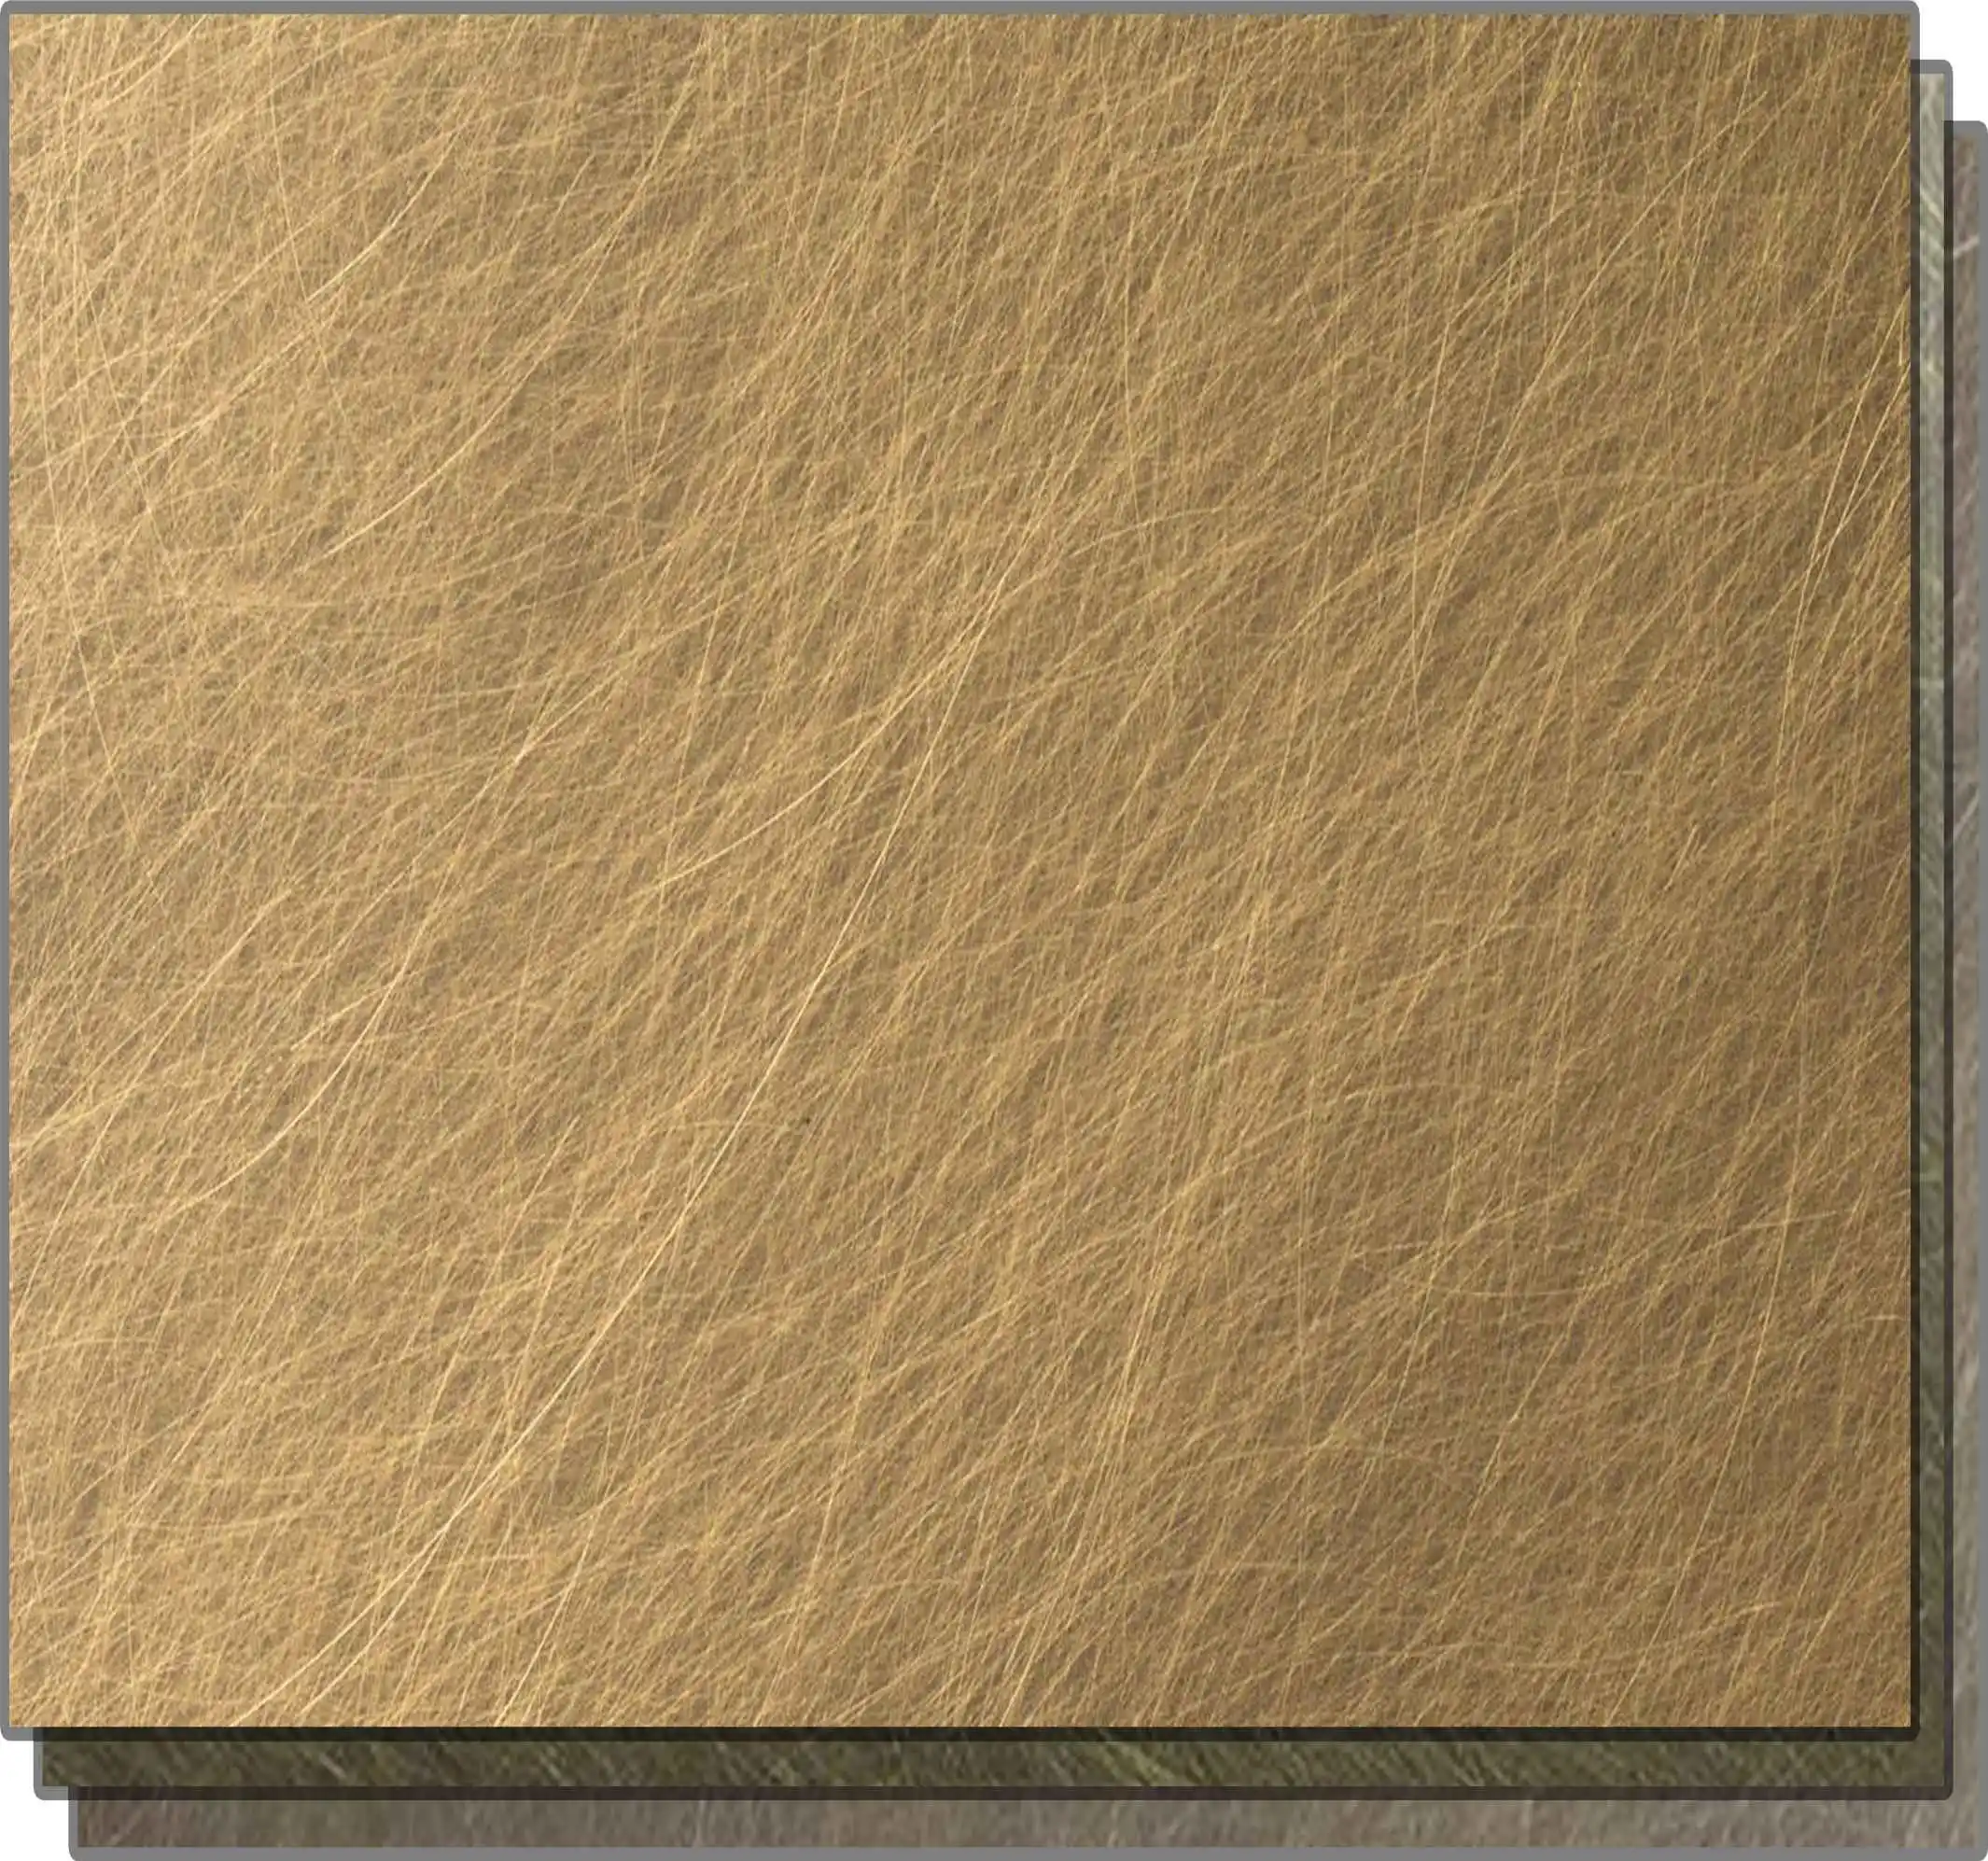
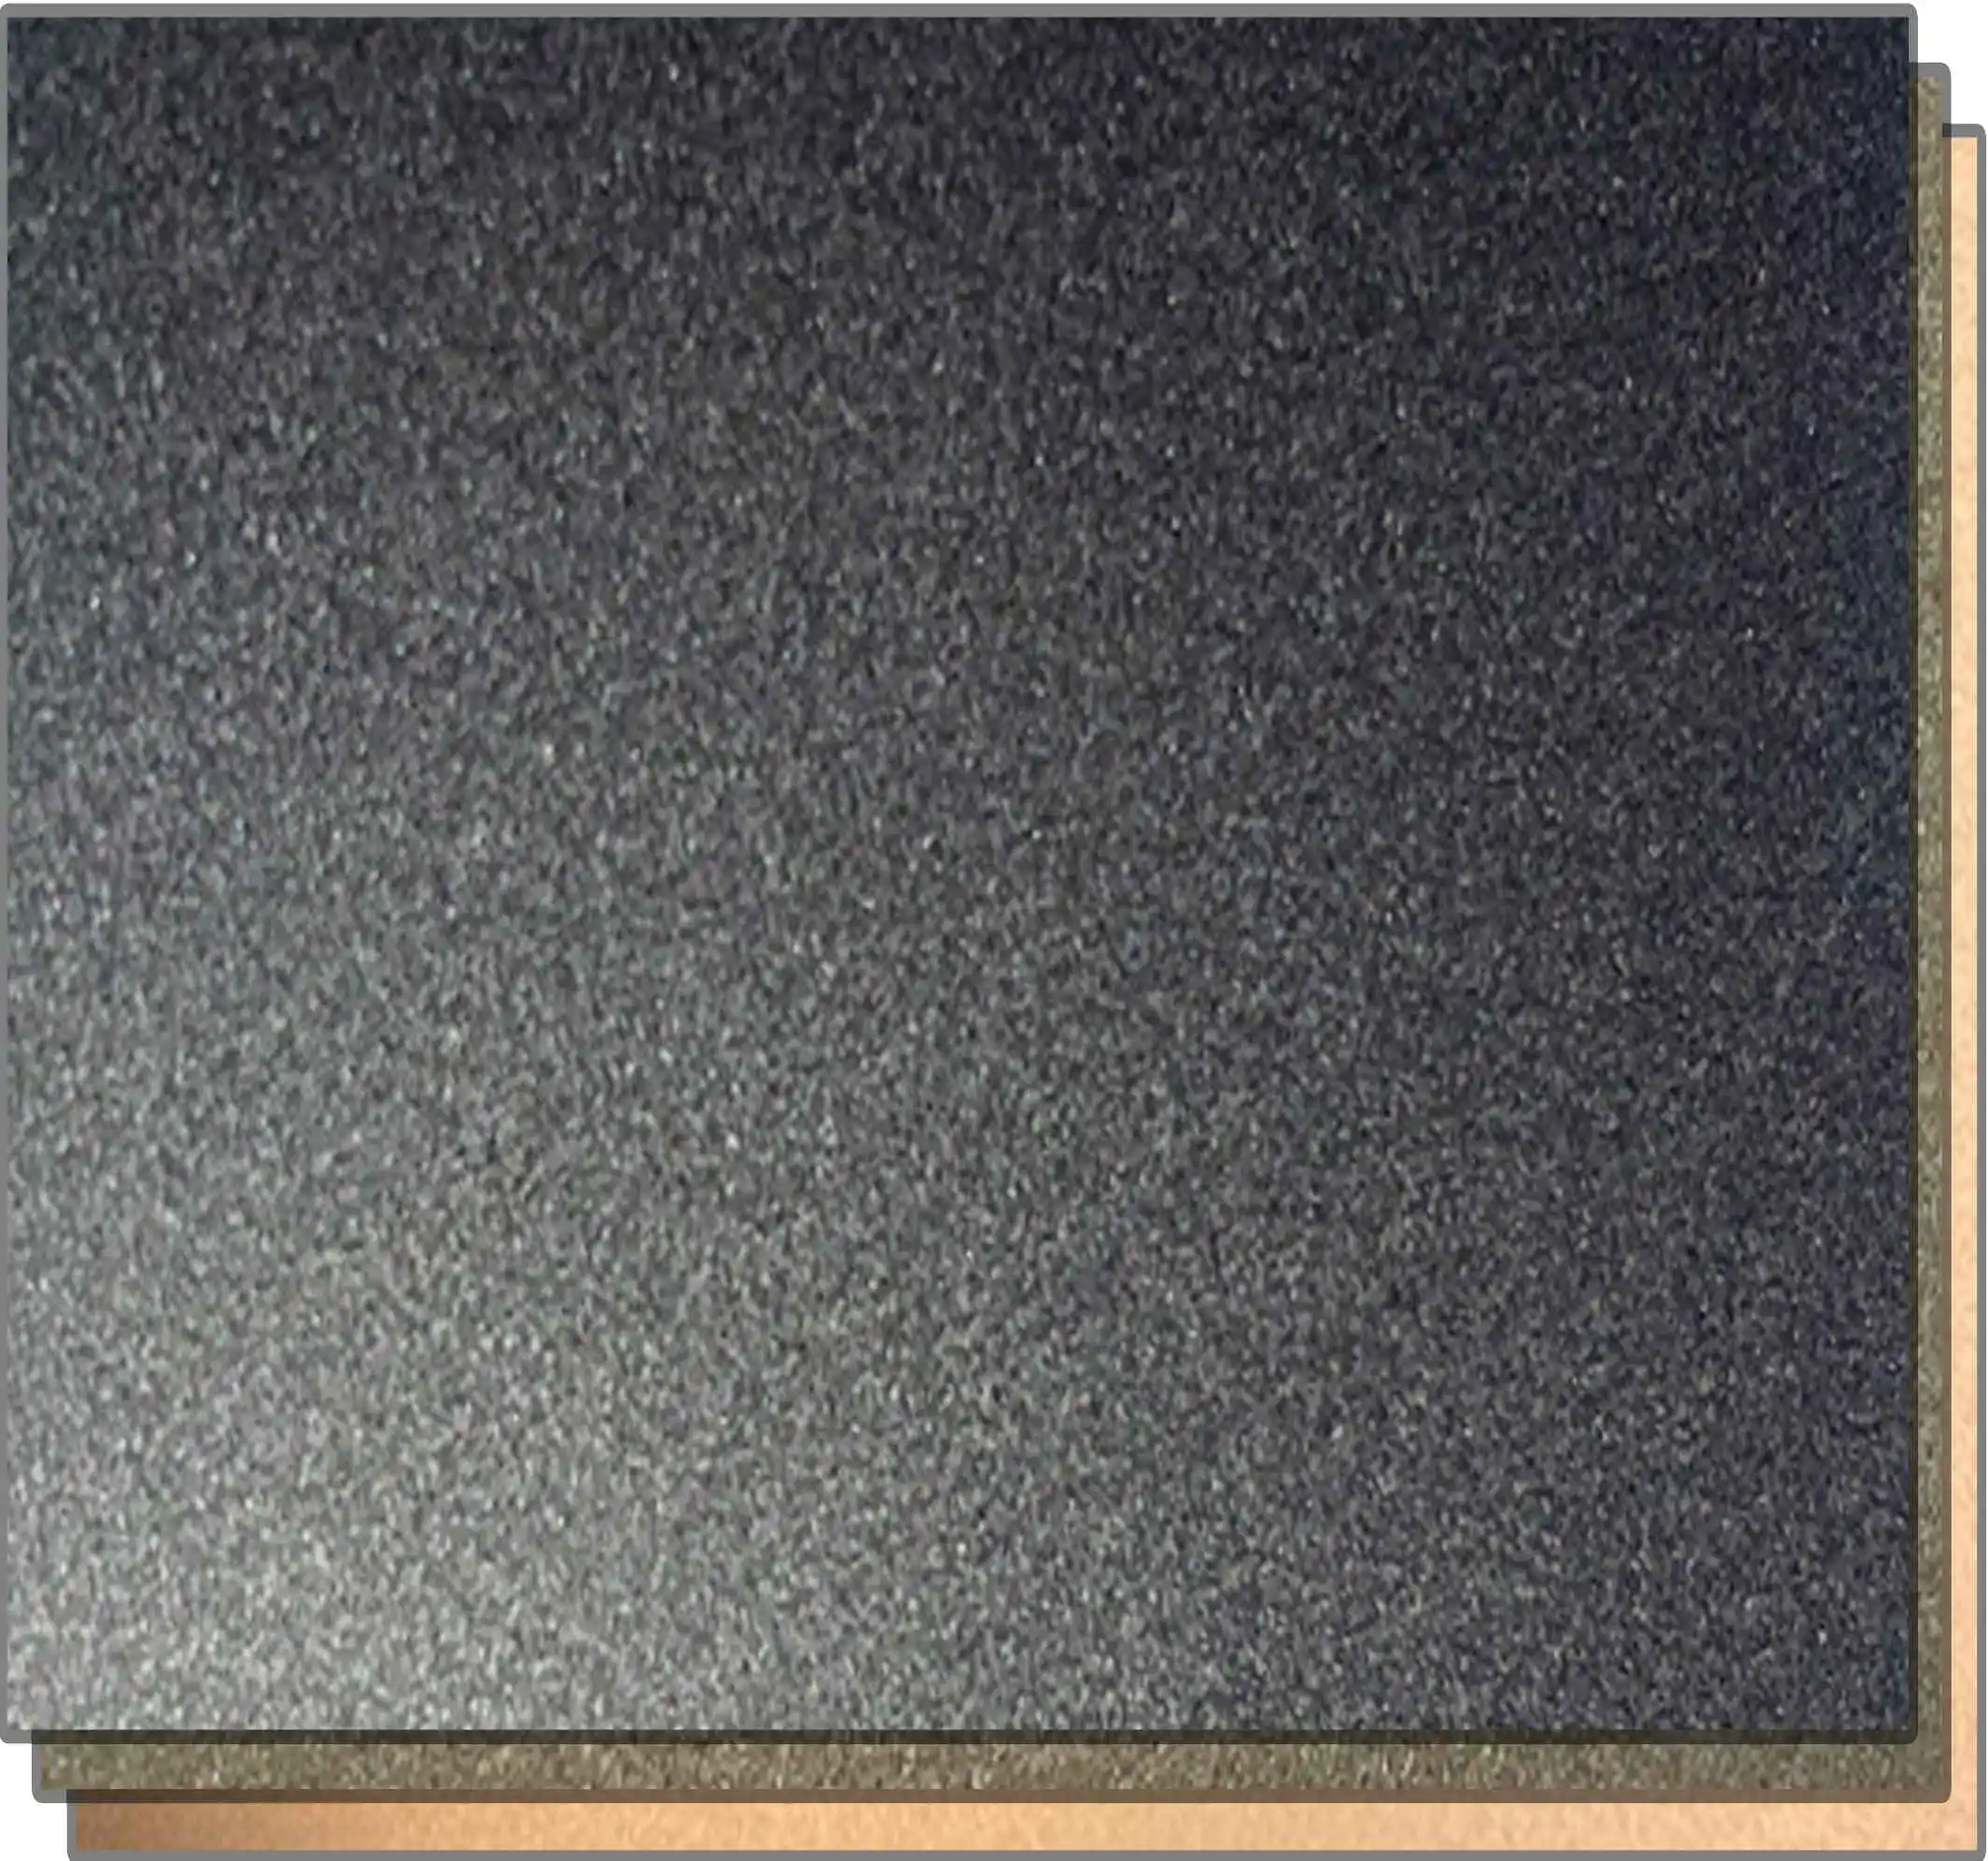
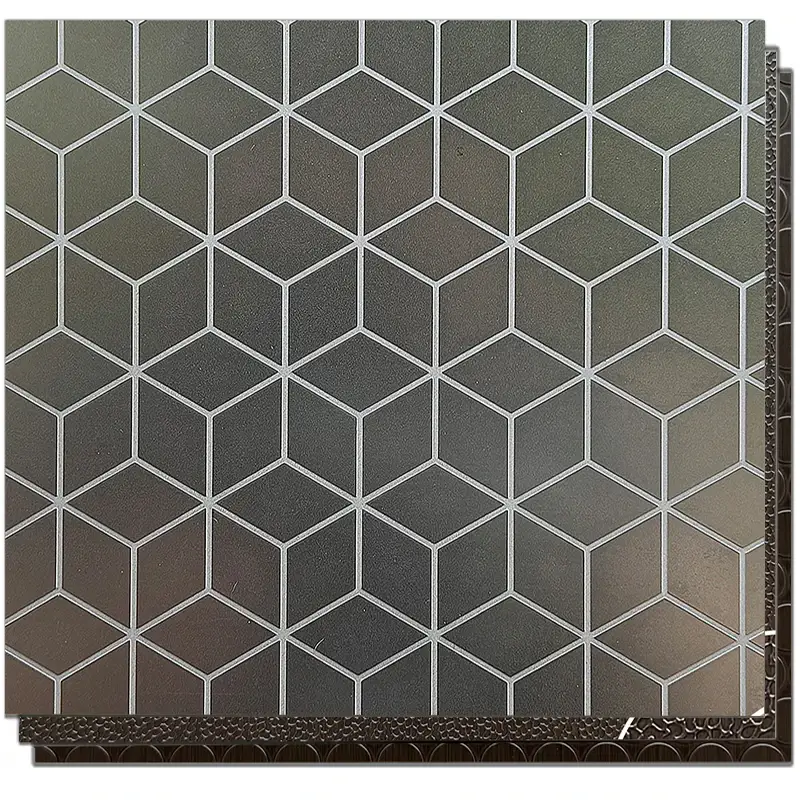
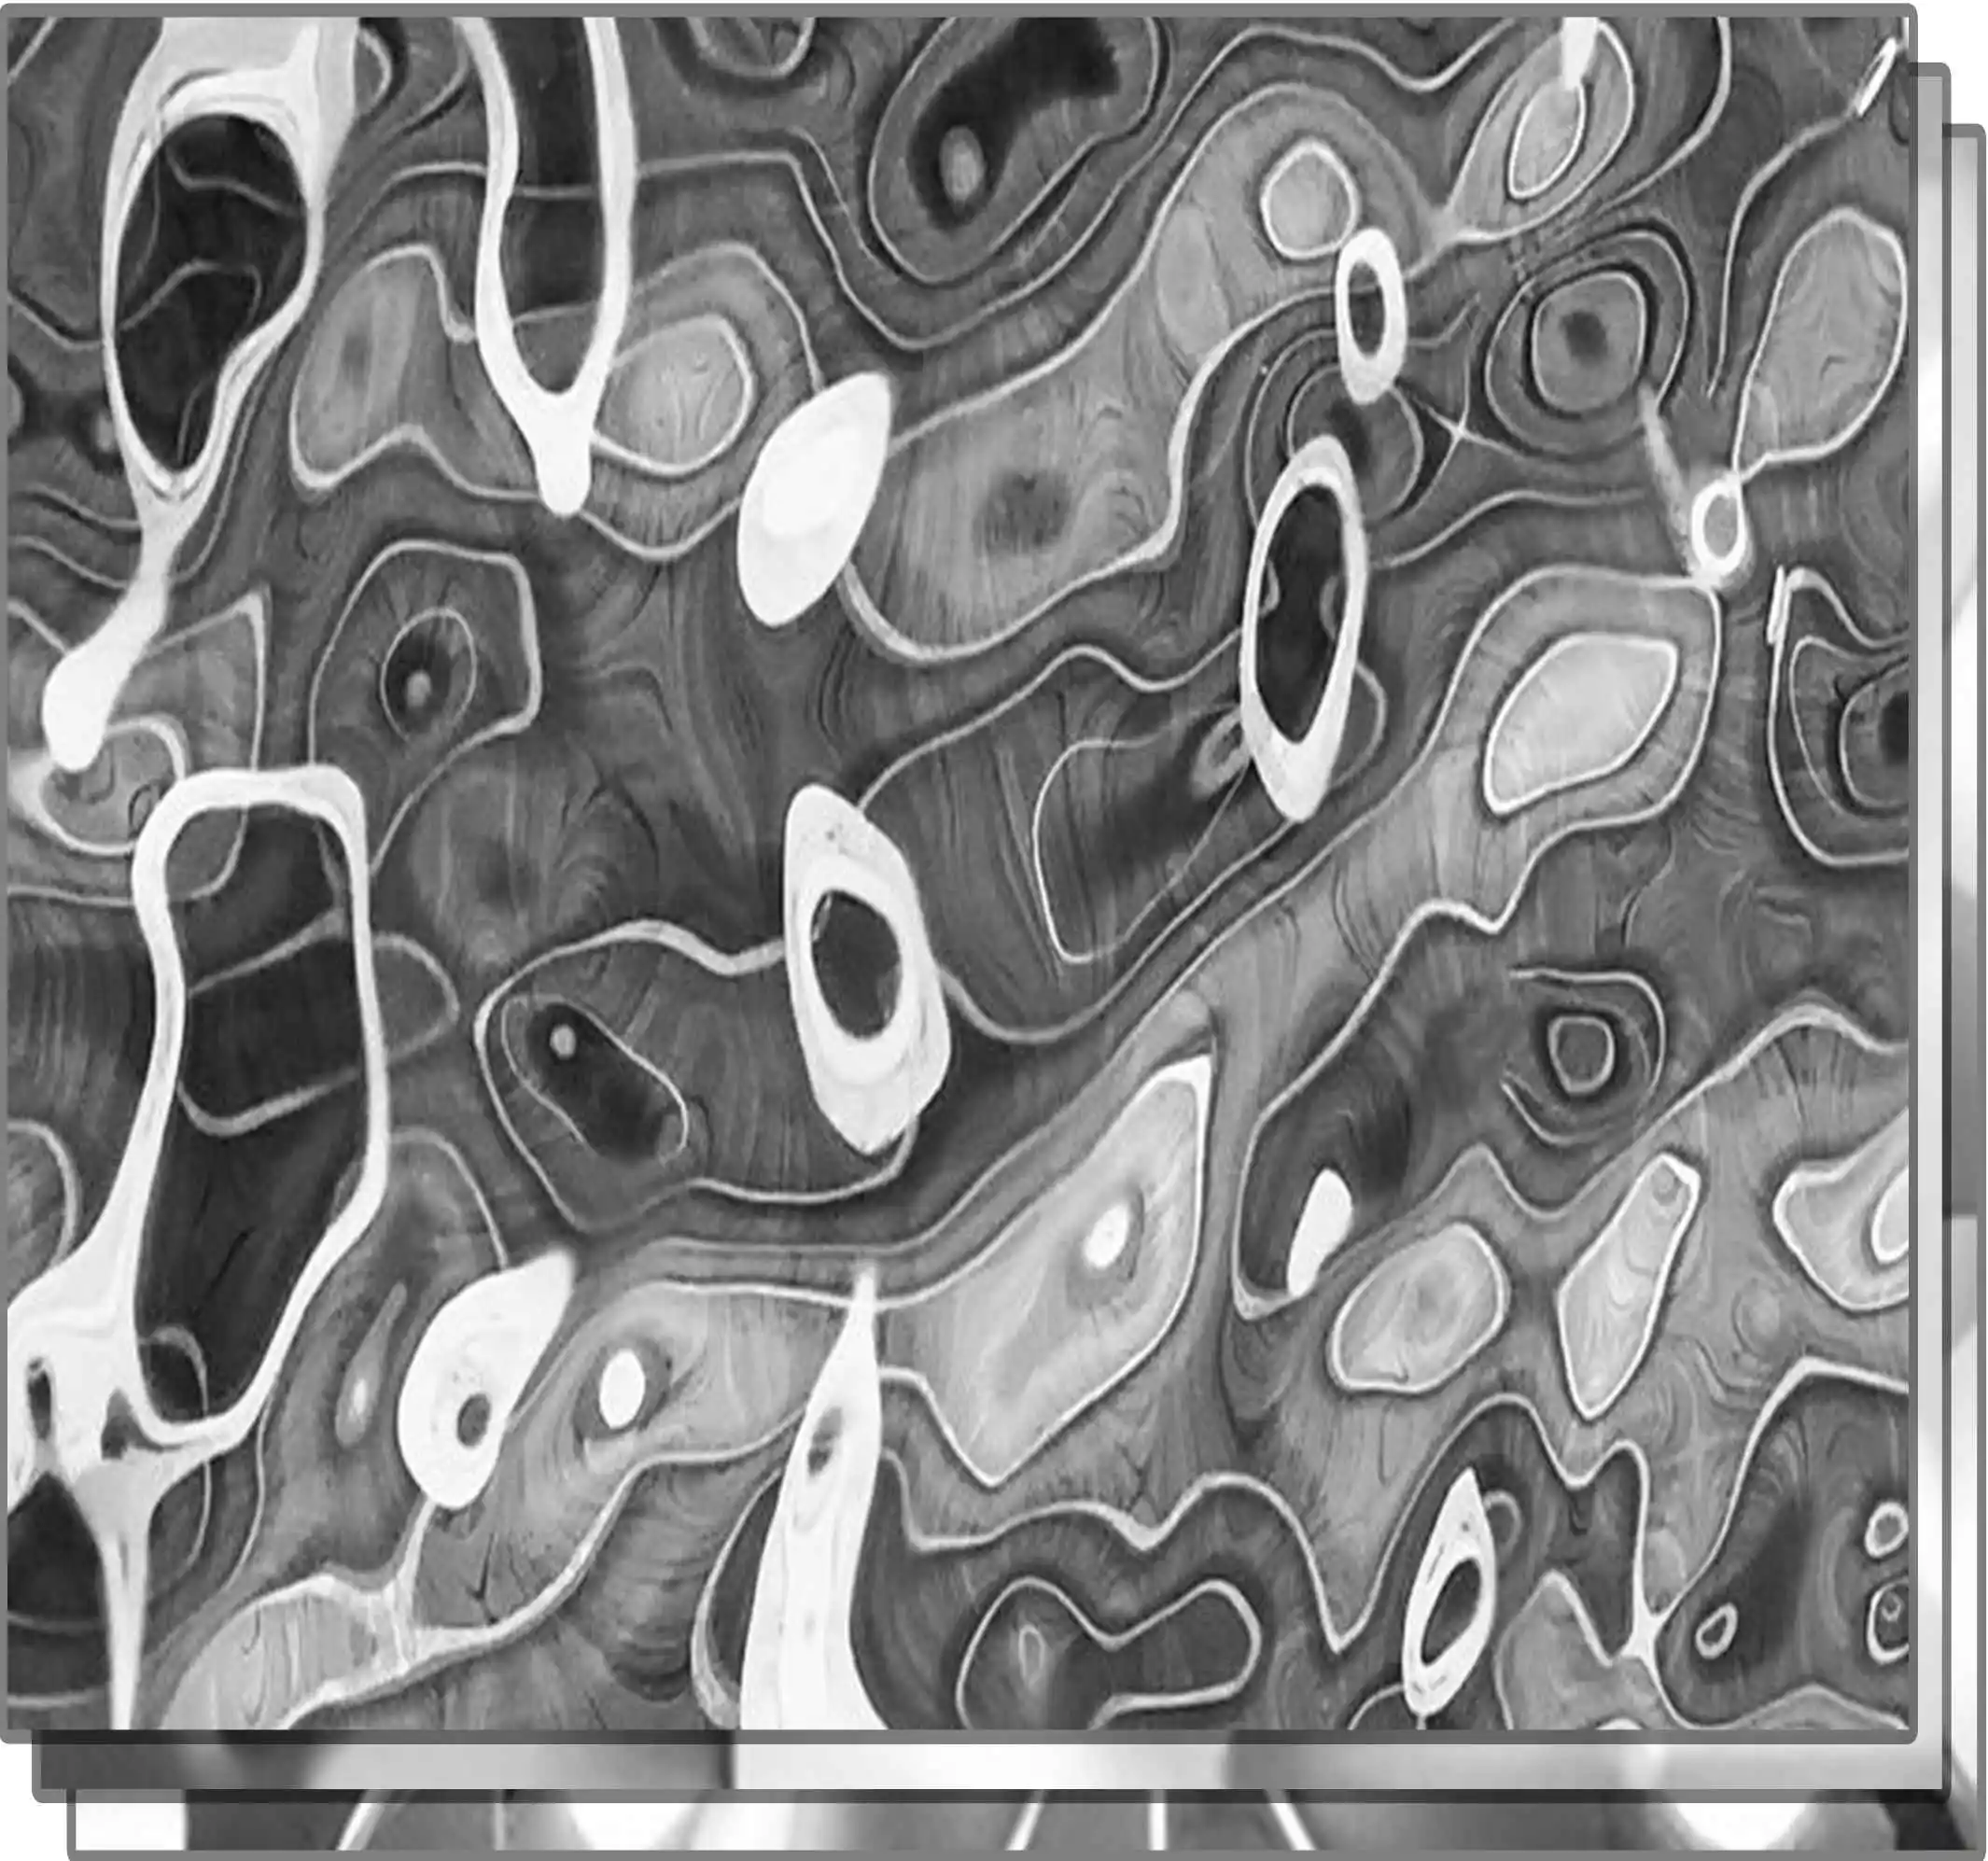
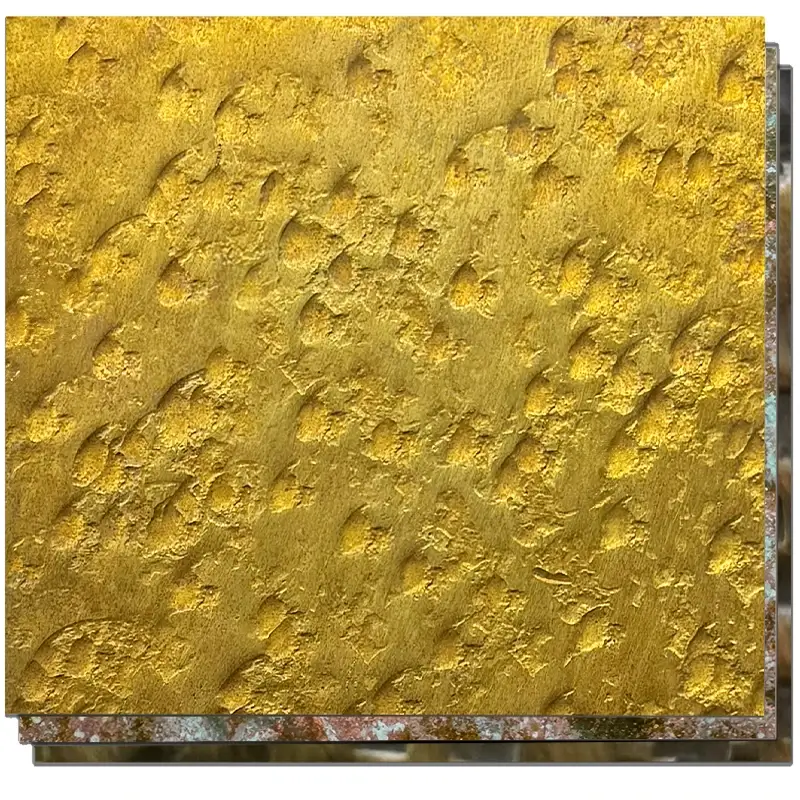
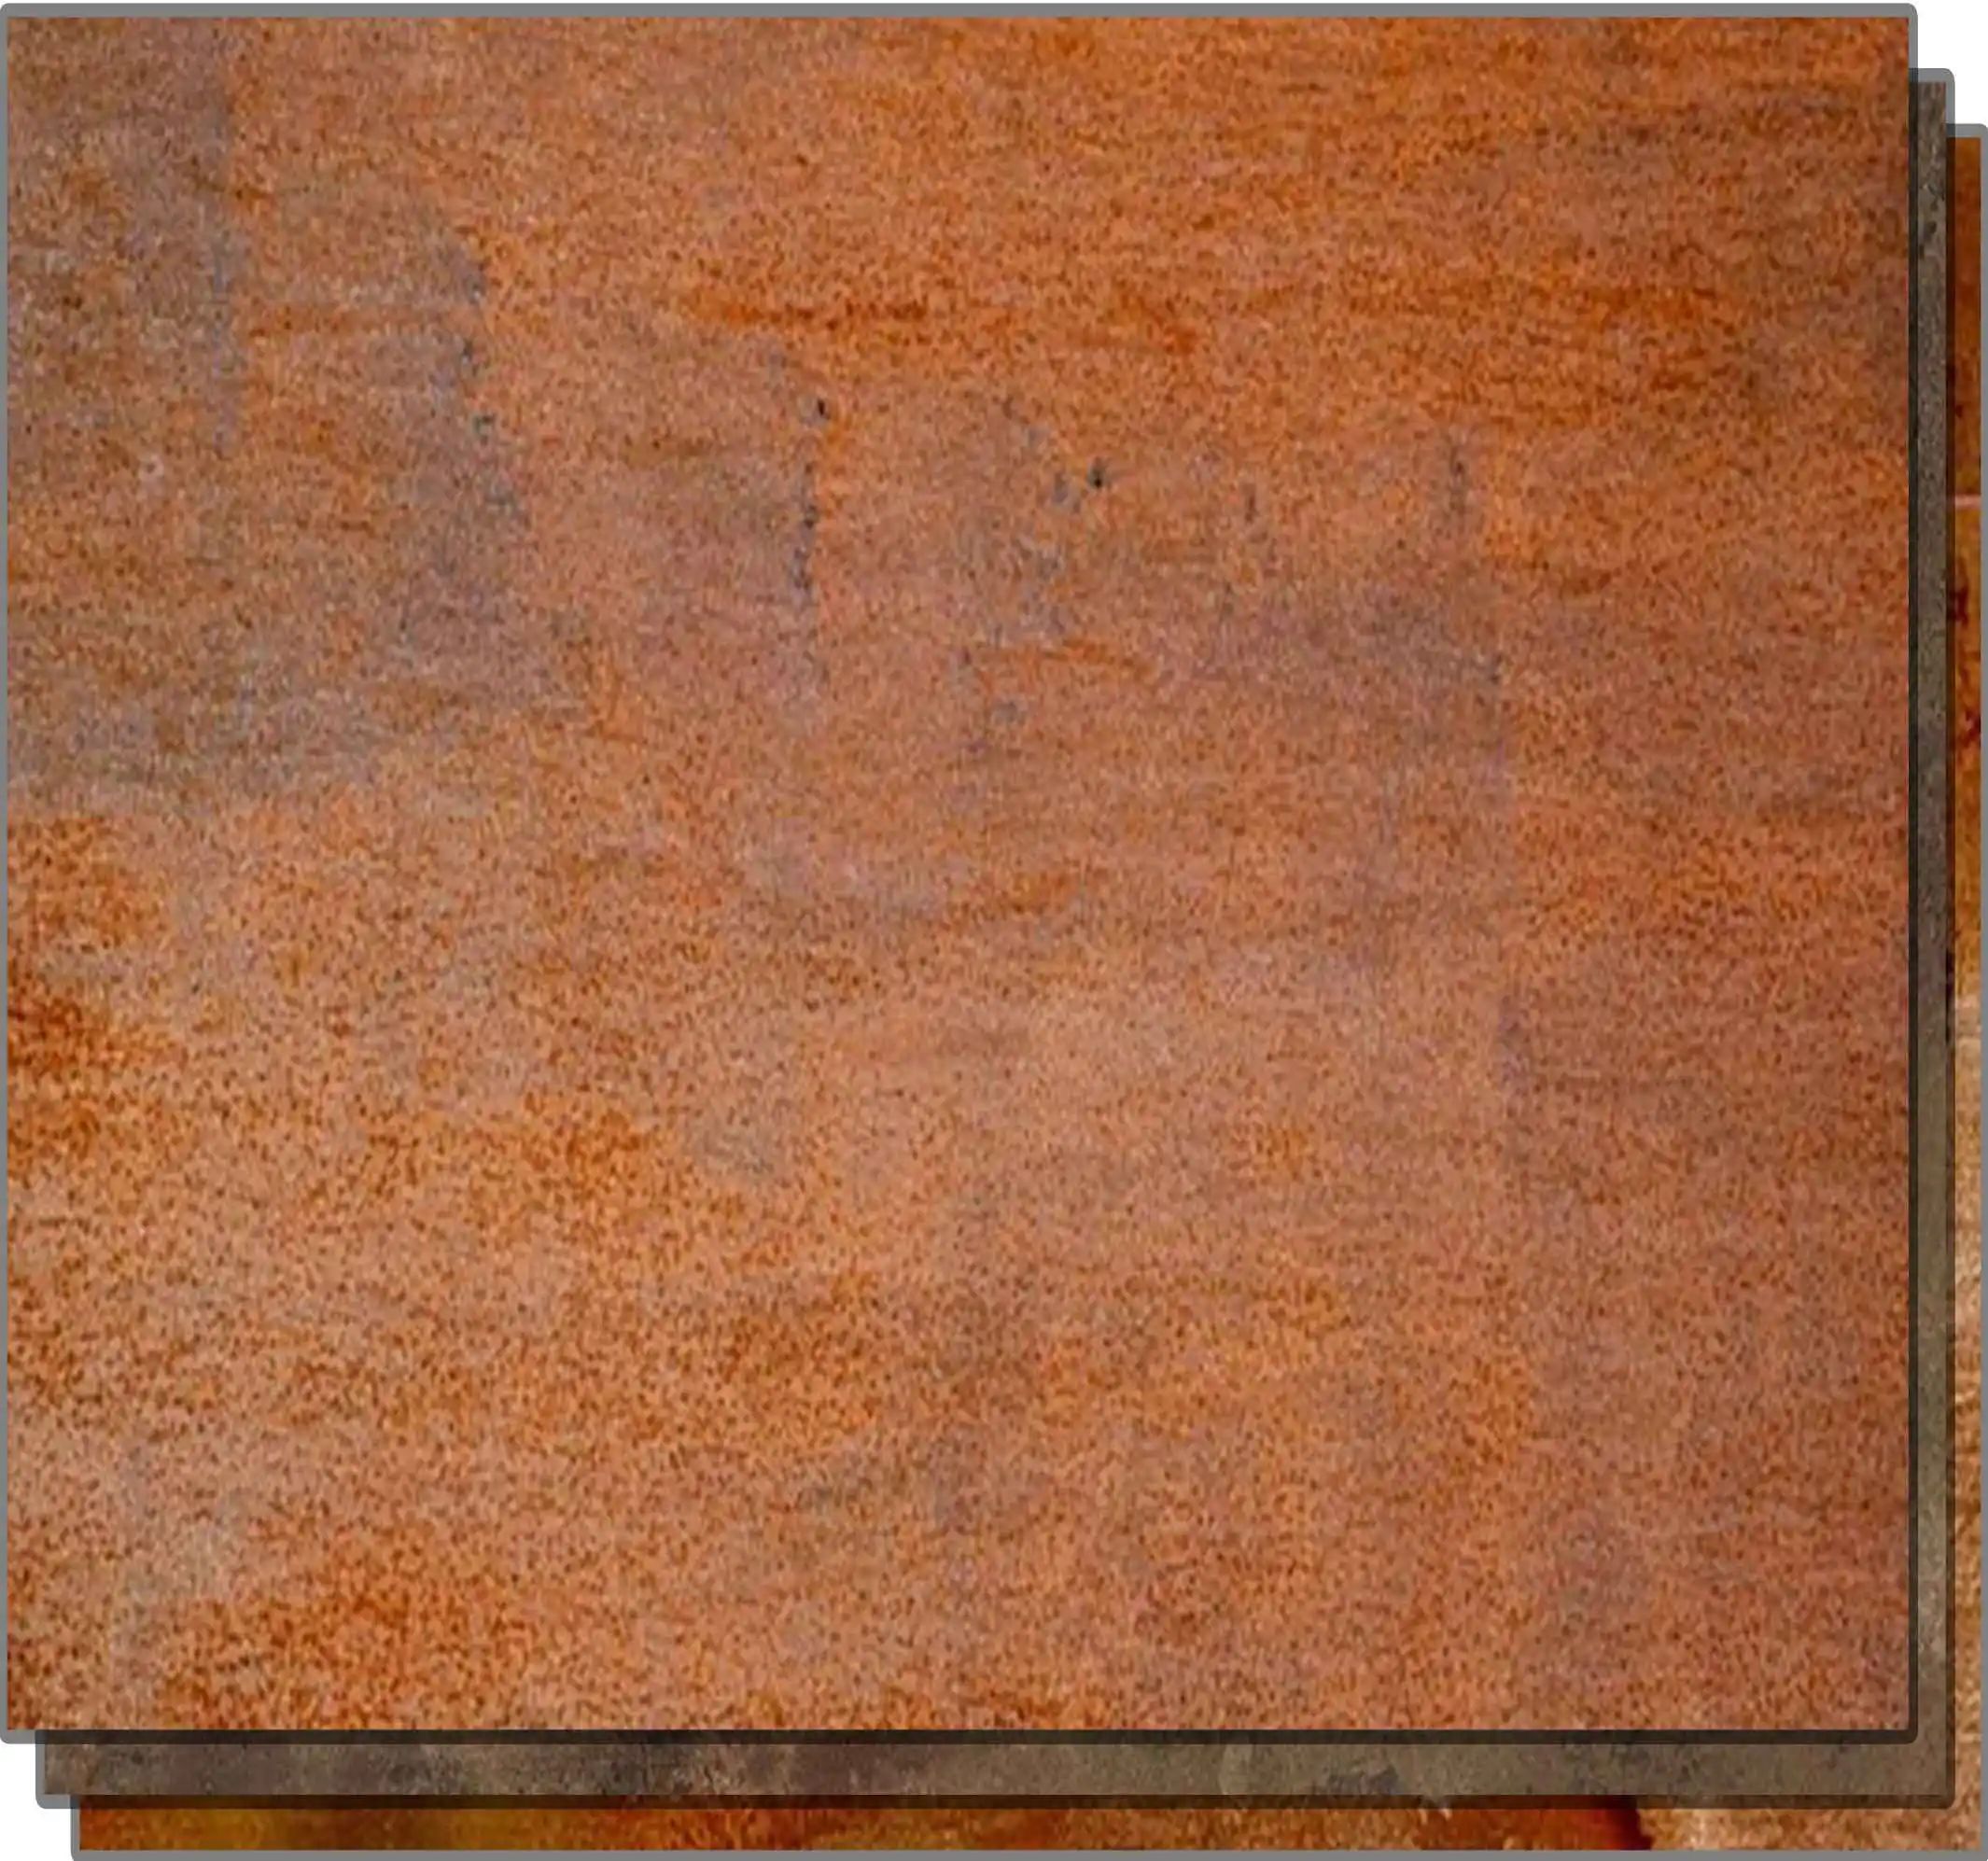


Stainless steel has a mirror-like reflective surface. Right? You can even see your face if you peek at it. This looks nice on the surface, but the stainless steel also gets fingerprints and gets dirty quickly. That’s where the brush finishing options come on the scene. But the question is: how to make a brush finish on a stainless steel surface?
Interestingly, brush finishing alters the surface of stainless steel. It makes it feel more like satin than mirror-like. As a result, the stainless steel surface doesn’t get fingerprints or doesn’t get messy easily. However, achieving a brushing finish is not as easy as it sounds; it requires some skill. However, don’t worry, I will explain how you can easily achieve a brush finish on the stainless surface. So let’s begin.
Why is Brush Finish Important on Stainless Steel?

Brush finish is one of the most crucial surface treatments for stainless steel today. In the section below, I will explain some of the benefits of this finish when used on a stainless steel surface.
- Reduces Visible Fingerprints: The brush finish actually features fine lines. These lines reduce glare and help hide fingerprints and scratches. That’s why brushed stainless steel is used in frequently touched areas.
- Improves Grip and Handling: Brush finish is not as smooth as a mirror finish. Instead, it contains minor grooves. These grooves add friction, directly increasing grip. As a result, there is very little chance of slipping. That’s why brushed stainless steel is used in railings and handles.
- Reduces Reflection and Glare: A mirror-like polished surface reflects the light. Right? This reflection can sometimes cause discomfort in the eye. However, this problem is resolved with a brush finish. Unlike a polished finish, a brush finish on stainless steel diffuses light. This reduces glare, making it more comfortable for the eyes.
- Durable and Long-Lasting: The brush finish might look dull. However, it is much more durable than other finishes. The brushing process slightly hardens the stainless steel surface. As a result, it becomes more resistant to scratches and corrosion. This makes it ideal for harsh outdoor spaces.
- Cost-Effective Option: Brush finish is more cost-effective than other finishes. The first reason is that the brushing process is effortless and doesn’t require expensive abrasives. Moreover, it lasts longer than other finishes, saving money on replacements in the long run.
How to Make a Brush Finish on a Stainless Steel Surface?
In my experience, the brush finish gives stainless steel a textured, matte look. As a result, the surface of this material becomes smoother and less prone to fingerprints. To achieve a brush finish, the polishing and sanding process is usually used. In the section below, I will discuss how to brush stainless steel in steps.
Step 1: Clean the Surface of Stainless Steel
The process begins by preparing the stainless steel surface. A clean, smooth surface is crucial to achieving the desired brush finish. If you see any dust, oil, or grease marks on stainless steel, remove them with a soft cleaning agent or soap. After that, I recommend checking for imperfections such as scratches or rust. If you find any, remove them with coarse sandpaper or steel wool. Remember, if the surface is contaminated, you won’t be able to achieve a brush finish effectively.
Step 2: Choose the Right Abrasive with a Specific Grip Number
To create a brush finish on the stainless steel, you will need abrasives. There are so many opinions on abrasives, and you have to choose the right one for the brush finish. How? Actually, the abrasives come in grit numbers (80-600). The lower the grit number, the rougher the abrasive will be, creating more visible texture and deeper lines.
However, a higher grit number of abrasives will produce a smoother brushed texture on stainless steel. You can choose any grit number abrasive for the brush finish on stainless steel, depending on your needs. Remember, the selection of grit is based on individual choices and preferences. However, I recommend a higher grit number for a more professional brush finish.
Step 3: Sand in One Direction on Surface
Once you choose the right abrasive, the next important step is making the actual brush finish. Actually, abrasive is the material that will scratch the stainless steel surface and give a brush finish. So this brush finish must be patterned. If you start sanding the stainless steel in any direction, the lines will cross, creating a messy pattern.
To avoid this, you should start sanding the stainless steel surface in one direction. I recommend starting at one end of the stainless steel and moving to the other. However, during this, keep the sanding pressure constant. Keep repeating this pattern until you have sanded the entire surface of the stainless steel and achieved the brush finish.
Step 4: Polish the Surface

Once you have created the brush finish on stainless steel, the next step is to polish its surface. This step will uplift the overall look of the brush finish. Remember, after sanding, you will notice some scratches and roughness. To remove this, you can adopt two methods. First, you can use a fine abrasive with fine grit number 400-600.
After that, you should start sanding it in the direction of the line pattern. It will give your brushed stainless steel a natural polish. However, if you want a shinier brush finish, use stainless steel cream. You can apply this cream to a soft cloth, then gently rub it onto the brush finish. It will fill in the microscopic scratches and further improve the stainless steel look.
Step 5: Clean the Surface & Protect the Brushed Finish
Once you have made the brush finish on stainless steel, it is time to clean and protect it. This step truly ensures that your hard work lasts longer. For cleaning, use a soft cloth. Wipe it with hot water, then rub in the direction of the brush finish lines. Once done, it comes to protect the brush finish on stainless steel.
No doubt stainless steel naturally resists rust and scratches. However, for extra care, you can apply stainless steel oil, mineral oil, or protective spray. Add a thin coating of the oil, or spray it on the brushed stainless steel, and leave it for some time. This layer, in the future, will make cleaning easier and prevent dust from sticking directly to the surface.
Conclusion
Undoubtedly, the brushed or satin finish is becoming popular. People consider it useful to change the surface of stainless steel. As you know, stainless steel is known for its shine. But this shiny or reflective surface is not always good. Why? The reason is that a shiny surface gets fingerprints and smudges quickly.
Above all, this brushed finish is very durable, improving the performance of the stainless steel surface. In this article, I’ve outlined five easy steps to achieve a brushed finish on stainless steel. Remember, before making the brush surface, you must clean the surface. Applying a brush finish on an unclean stainless surface may result in a low-quality brush finish.
Related News
2026-10-14
2026-09-28
2026-09-15
2026-08-25